Removing Threaded Posts

Remove posts in a fast, efficient and safe way

During endodontic retreatment, the removal of a threaded metal post can be a difficult procedure which carries the risk of perforation and fracture of the tooth. Ultrasonic vibration breaks the bond between the post and the canal walls, facilitating its removal. There are many advantages of using ultrasonics for this procedure, including speed, conservation of tooth structure, and minimizing risk of tooth fracture. 

E8

E8 – Scouter

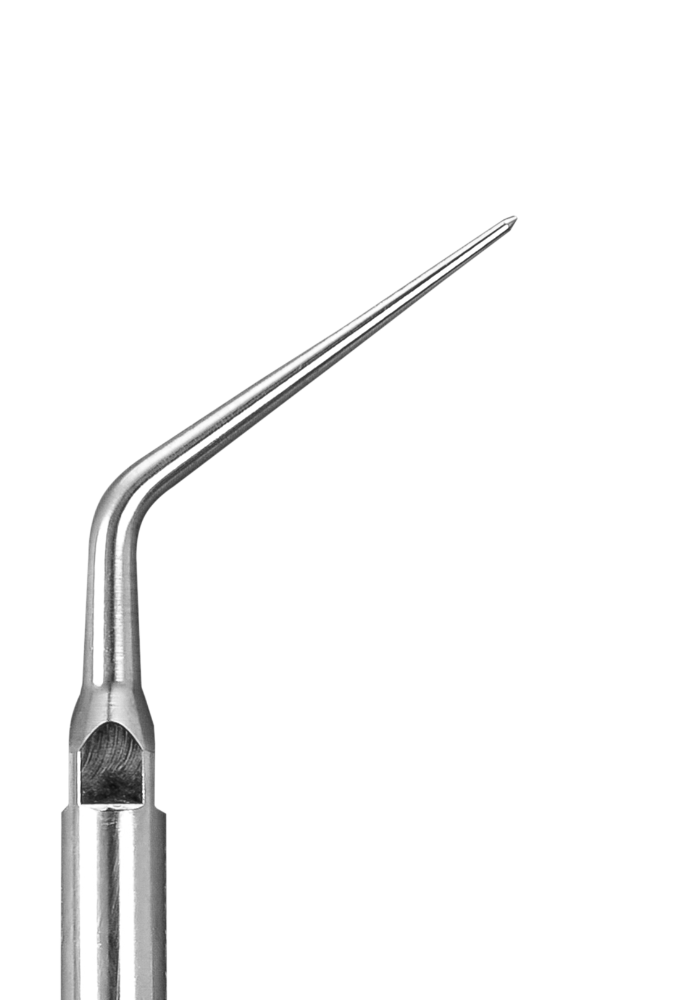
The E8 – Scouter has excellent durability. It is used primarily for uncovering a canal orifice or removing cement from metal posts. 

E9

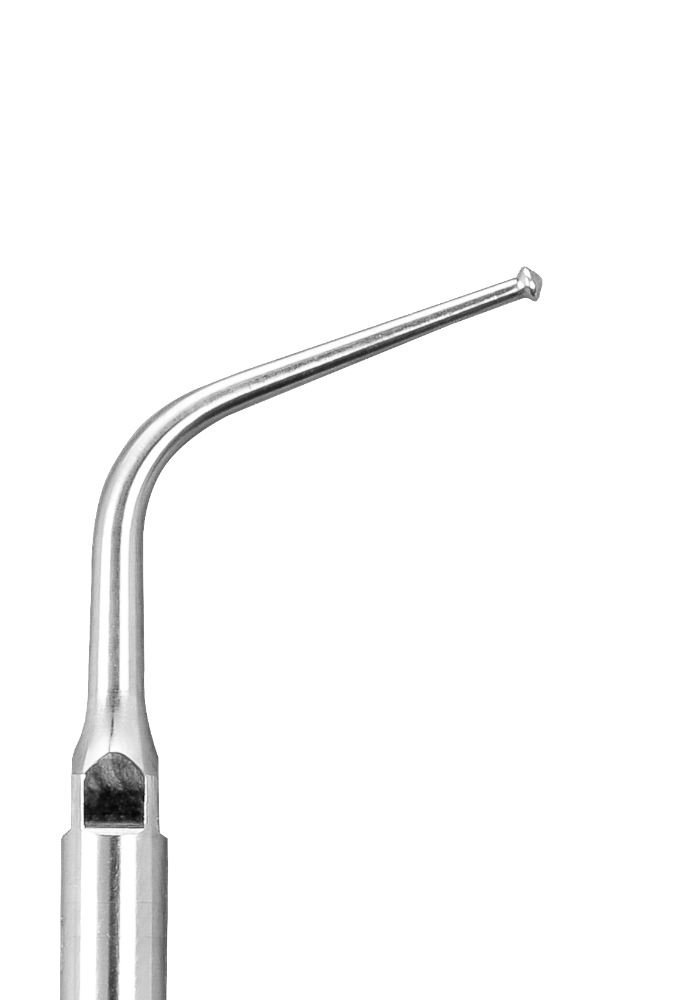
E9 – Post Removal

The E9 – Post Removal tip is recommended for removal of metal and non-metal cores, particularly within molars with limited access. 

Step-by-Step Threaded Posts Removal

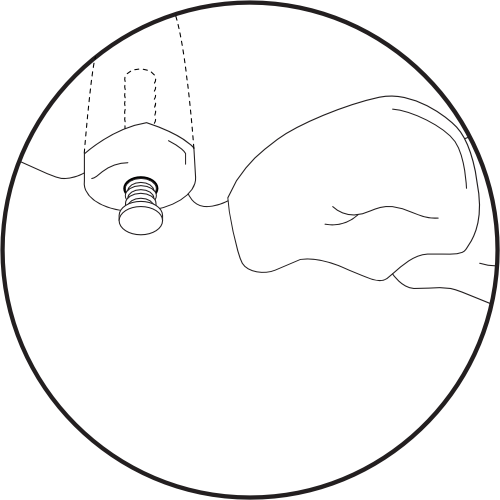
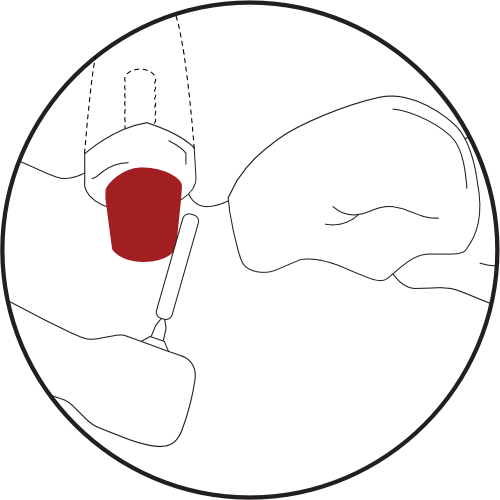
1 – Using a transmetal or diamond bur, abrade the coronary portion of the post until the cement line is visible (high speed turbine with water cooling).

2 – After the cement line is visible, use the E8 ultrasonic tip (60% power and water cooling on) to break/remove the cement around the metal post.

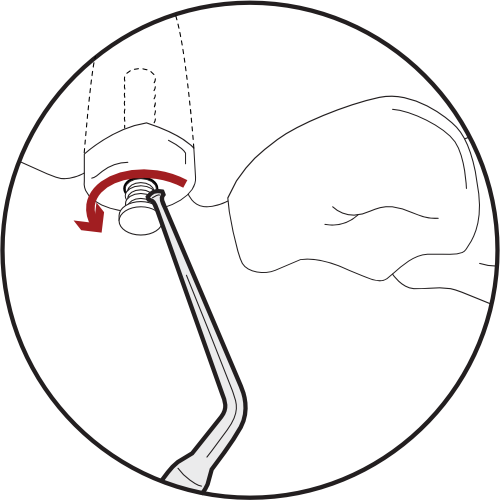
3 – Next, place the E9 ultrasonic tip sidewards to the post and apply a counterclockwise vibration (70% power and water cooling on) in order to brake the cement and pull out the post.
<img src="Illustration-Removing-Threaded-Posts-1.png" alt="Using a bur, reduce the coronal portion.">

1. Reduce the coronal portion.

<img src="Illustration-Removing-Threaded-Posts-2.png" alt="Next step in removing threaded posts is to expose the threaded post."

2. Exposed Threaded Post.

<img src="Illustration-Removing-Threaded-Posts-3.png" alt="Place the E9 tip sidewards to apply counterclockwise vibration.">

3. Counterclockwise vibration with sidewards placed E9 insert.
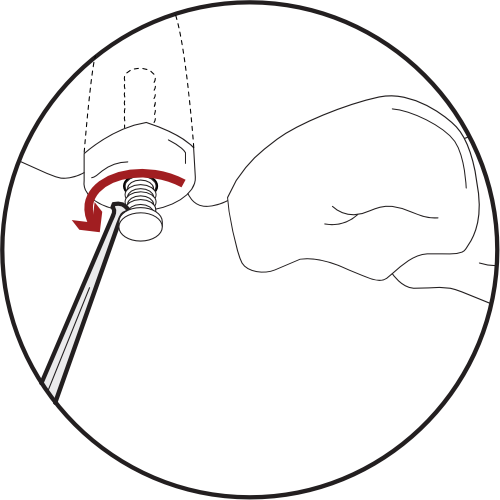
<img src="Illustration-Removing-Threaded-Posts-4.png" alt="Repeat previous step to remove threaded post.">

4. Repeat step 3 until the post is removed.
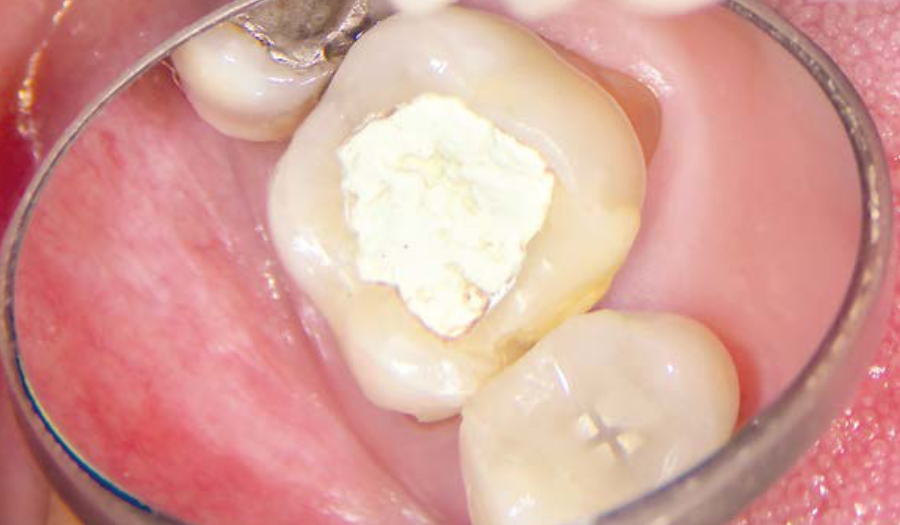
Premolar image showing a metal post underneath the resine.
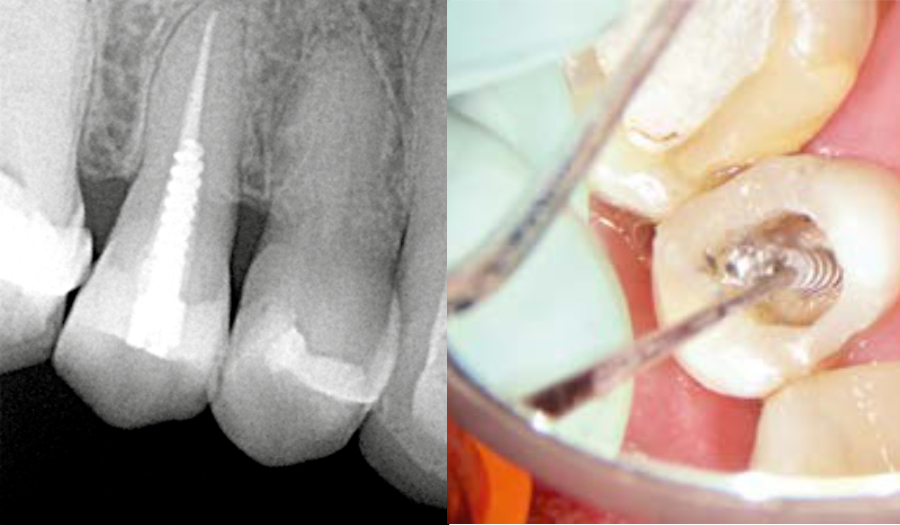
Dignostic x-ray of a premolar showing a threaded metal post. The post is visible after the resin removal. Ultrasonic tip must be placed sideways, as shown.
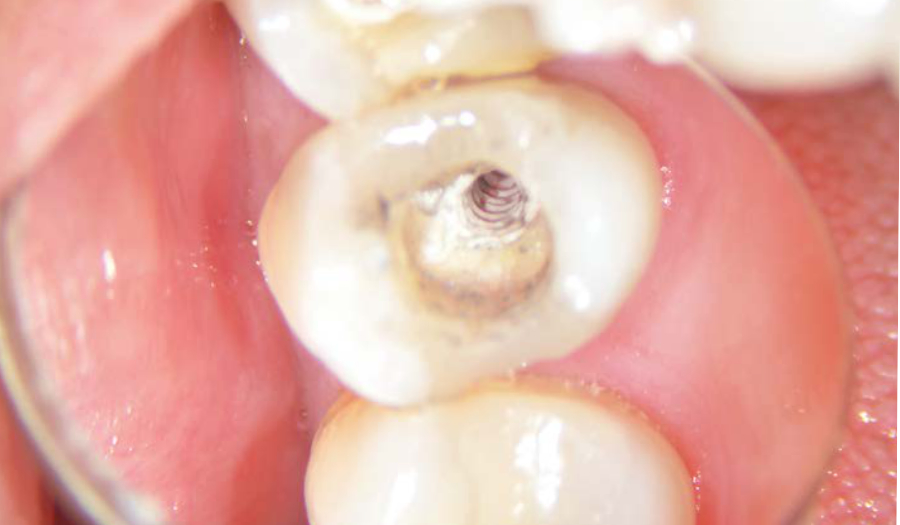
Final result.

Dr. Jose Mauricio Camargo

“There is no question about it: the Bladesonic is a very ergonomic tip and performs a clean cut with minimal root structure loss. It is indispensable to any endodontic arsenal.”

Jose Maurício de Camargo, DDS

Starter Packs to get you going.

Starter Packs to get you going.

We’ve assembled three separate starter packs packaged with a procedure field guide to get you started supercharging ultrasonics in your practice.

Endo Starter Pack

The Endo Starter Pack includes 6 Ultrasonics Tips to get you started with Pulp Chamber, Middle Third and Activation procedures.

Endo Master Pack

The Endo Master Pack includes 12 Ultrasonics Tips for Pulp Chamber, Middle Third, Activation, Post Removal and Retreatment procedures.

Endo Guru Pack

The Endo Guru Pack includes 18 Ultrasonics Tips for maximum flexibility with Pulp Chamber, Middle Third, Activation,Post Removal, Apical Surgery and Retreatment procedures.

Build-Your-Own

When purchasing tips we offer savings for every 6 tips you add to your cart. No discount codes just add to your cart and start saving.