Locating Middle Mesial Canals
Avoid Missing a Canal in Hiding
The mandibular molar is traditionally described as a tooth with two canals in the mesial root. However, studies have shown that their anatomy can vary significantly, and a third canal is found in 15-25% of all cases. When working without magnification, it is likely that the middle mesial canal will be missed. However, the application of magnification and ultrasonics to trough between the mesiobuccal and mesiolingual canals with a diamond coated insert (E2D or E6D) can increase the probability of finding the middle mesial canal by up to 50%.
E2D
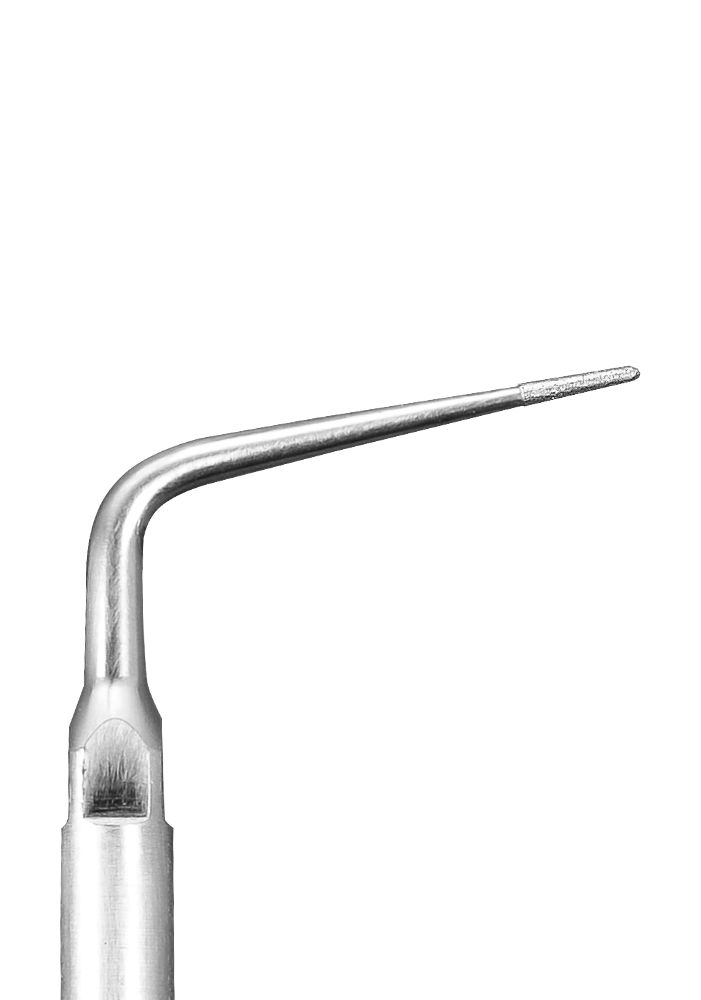
E2D – Conical Diamond
The E2D – Conical Diamond is indicated for both side and end cutting, enlarging the ishtmus and troughing.
E6D
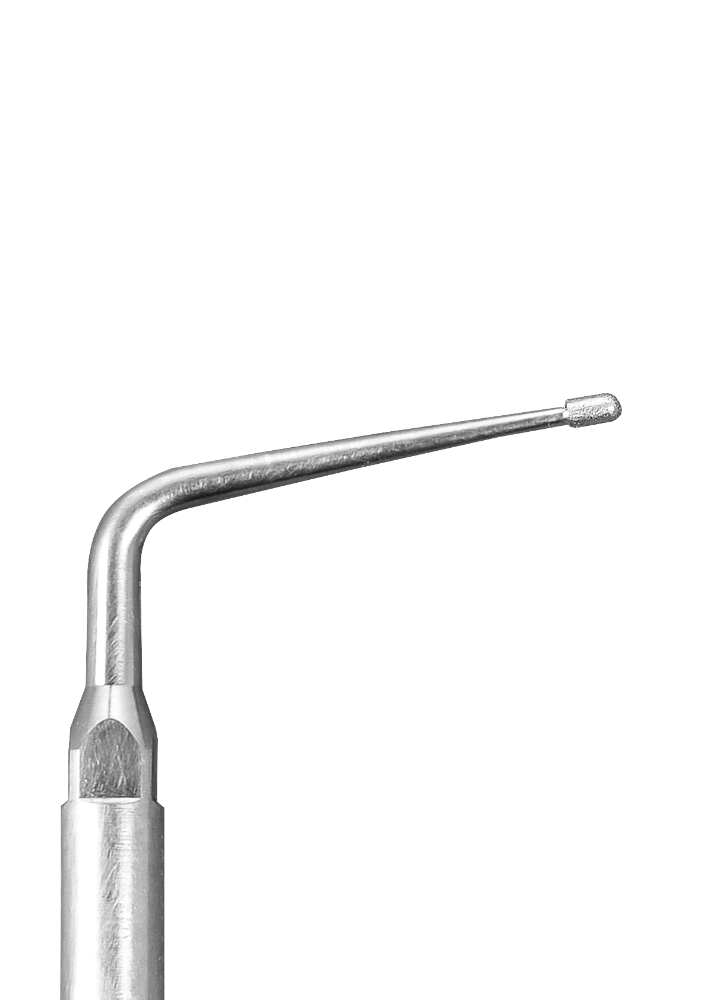
E6D – Pear Diamond
The E6D – Pear Diamond has excellent durability. It is used to locate canals, remove coronal obstructions, calcifications, restorative materials, cements (permanent and temporary), etc. The tip creates a smooth, flat, clean troughing groove that eases canal location. It can also be used to refine prep margins and box preps, and to remove caries.
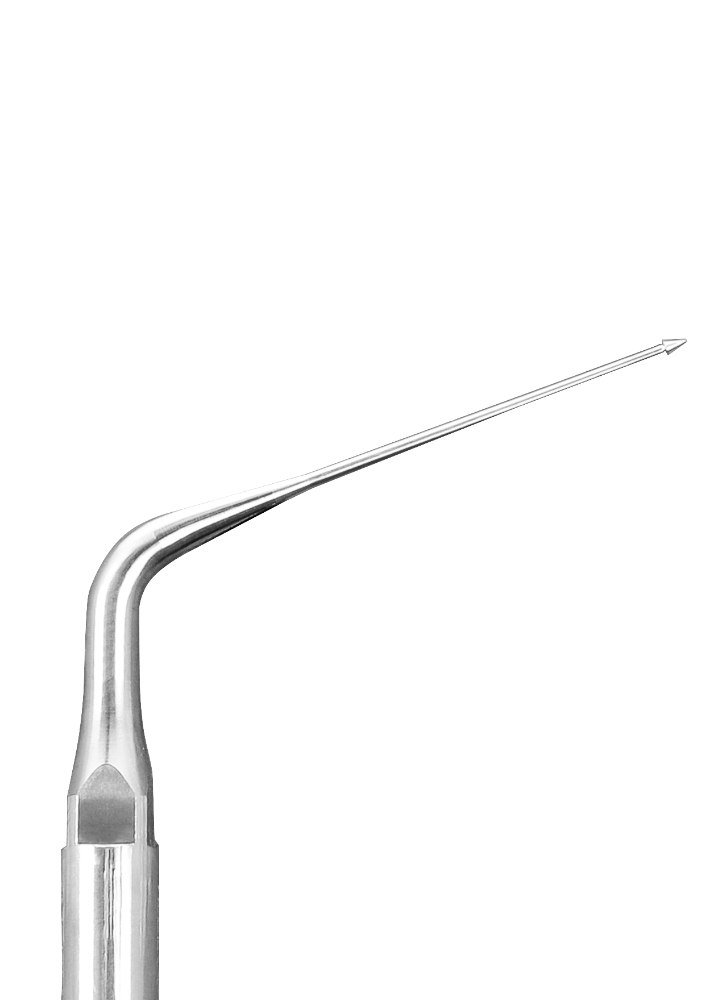
E15
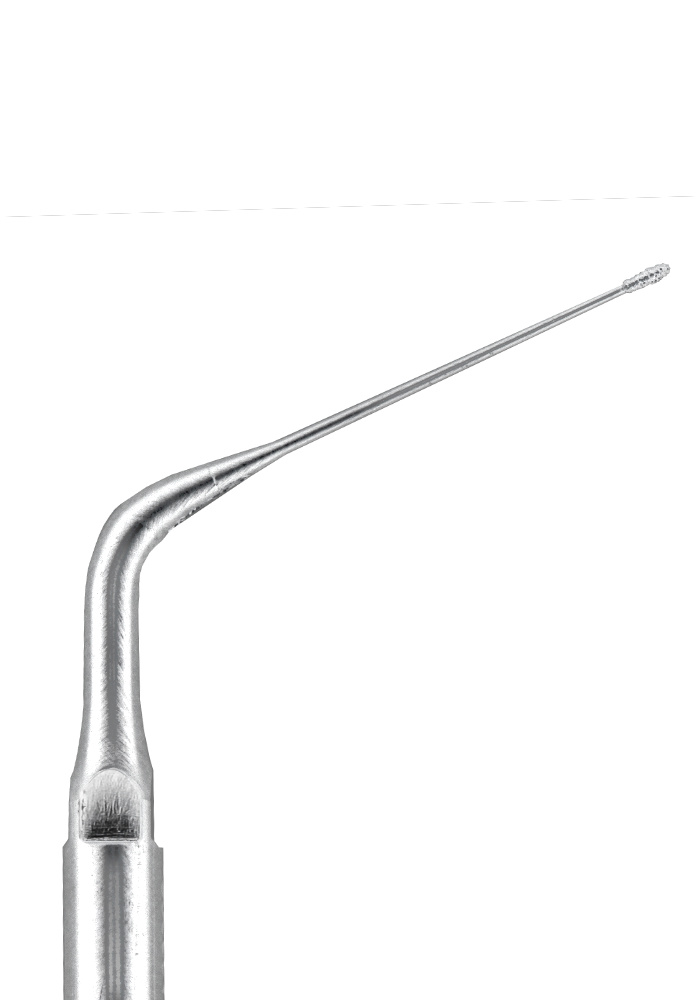
E15 – The Finder™
The Finder is a diamond coated ultrasonic tip with an end diameter similar to the one of a #2 Gates Glidden drill (around 0.7mm). Designed initially to locate MB2 canals, it has been also used with great efficiency to locate calcified canals, locate isthmuses, and to prepare the root canal orifice. Its long shape allows enhanced visualization through the microscope.
Step-by-Step Calcified Canal Location
2 – The dentin covering the pulp chamber floor and its mesial wall must be completely removed.
3 – Using a square section file, negotiate the middle mesial canal penetration, taking advantage of the sturdiness of these instruments.
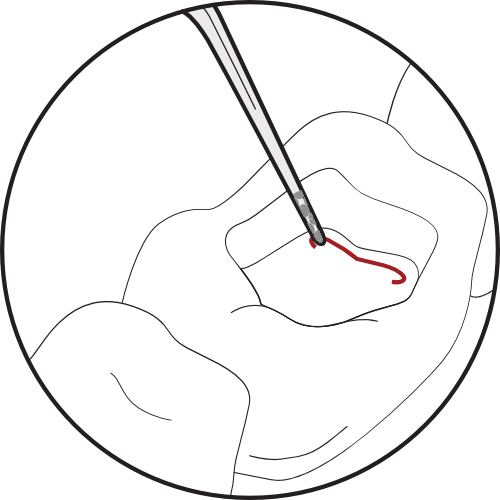
1. Create a groove connecting the mesiobuccal and mesiolingual canals.
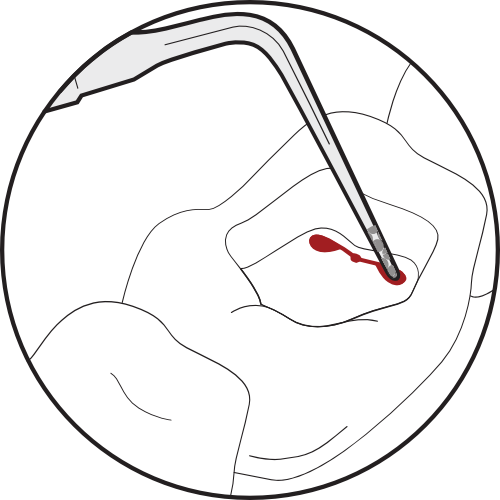
2. Locate the middle mesial canal orifice along the groove.
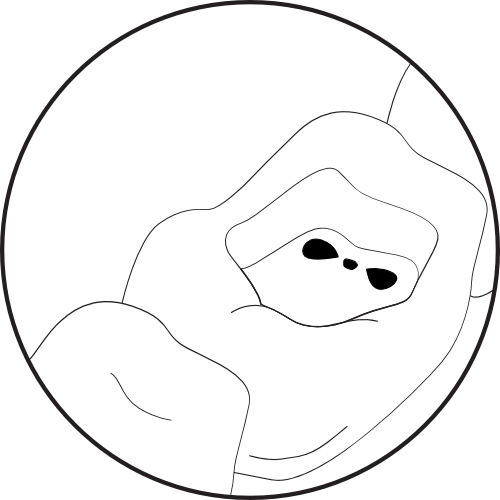
3. Use an appropriate file to negotiate and prepare the canal.
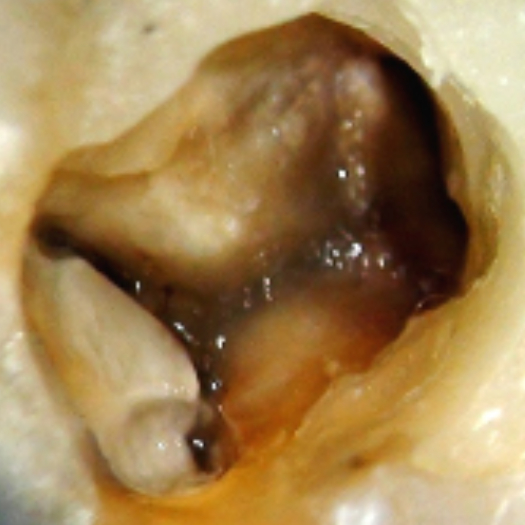
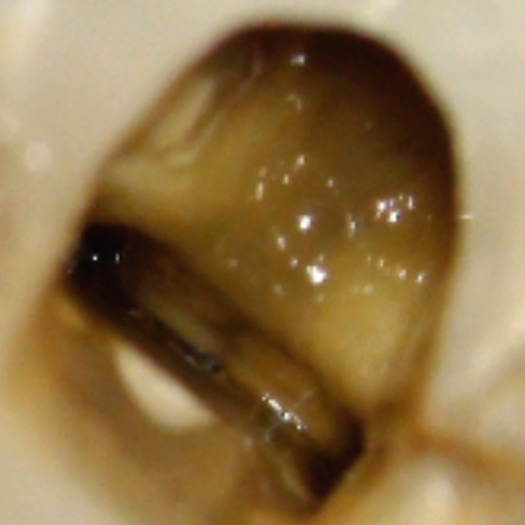
Achieved access to the Pulp Chamber.
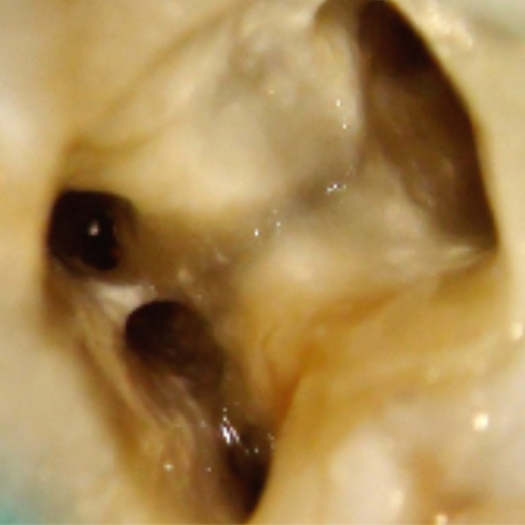
Middle Mesial Canal located using ultrasonic.
Middle Mesial Canal final result.
Journal Articles & Research
– Journal of Endodontics, January 2014
Starter Packs to get you going.

Starter Packs to get you going.
We’ve assembled three separate starter packs packaged with a procedure field guide to get you started supercharging ultrasonics in your practice.

Endo Starter Pack
The Endo Starter Pack includes 6 Ultrasonics Tips to get you started with Pulp Chamber, Middle Third and Activation procedures.

Endo Master Pack
The Endo Master Pack includes 12 Ultrasonics Tips for Pulp Chamber, Middle Third, Activation, Post Removal and Retreatment procedures.

Endo Guru Pack
The Endo Guru Pack includes 18 Ultrasonics Tips for maximum flexibility with Pulp Chamber, Middle Third, Activation,Post Removal, Apical Surgery and Retreatment procedures.

Build-Your-Own
When purchasing tips we offer savings for every 6 tips you add to your cart. No discount codes just add to your cart and start saving.