Locating Calcified Canals
Fast and safe removal of blockages.
One of the challenges in endodontics is the removal of calcifications that block the access to the root canals. The best treatment for this condition is the combination of magnification and ultrasonics. The improved visualization and the conservative removal of tooth structure with the ultrasonic tip result in fewer iatrogenic errors.
E3D
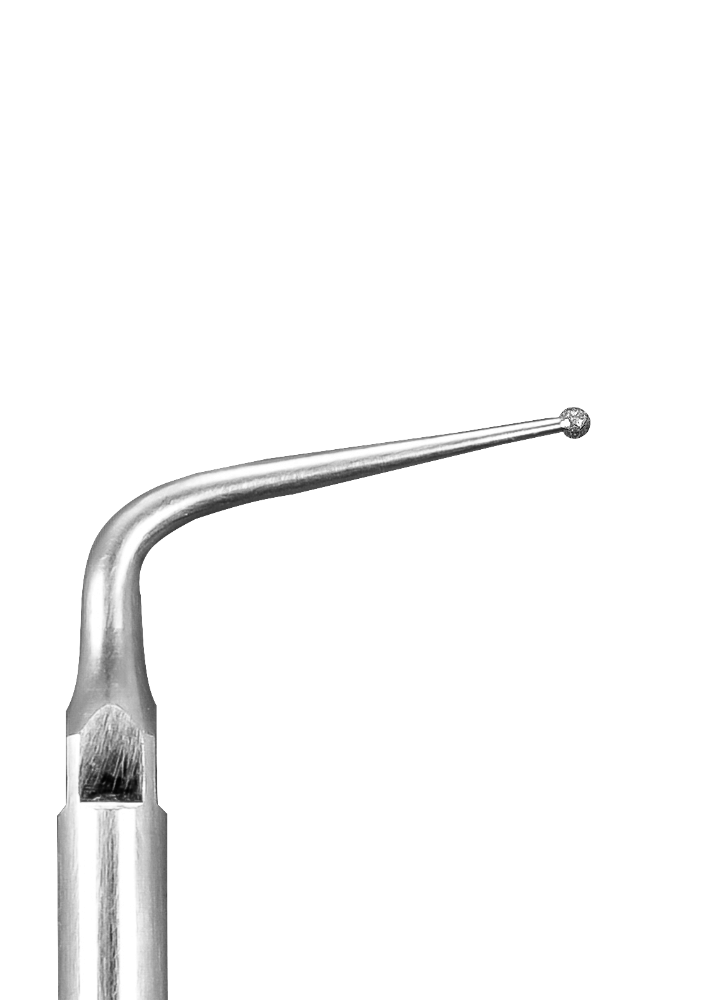
E3D – Ball Diamond
The E3D – Ball Diamond provides fine cutting control when troughing yet it is less aggressive than the E6D – Pear Diamond. It is designed to remove coronal obstructions, find canals, restorative materials, calcifications, etc. The E3D creates a smooth, flat, clean troughing groove that eases canal location. It can also be used to refine prep margins and box preps, and to remove caries.
E6D
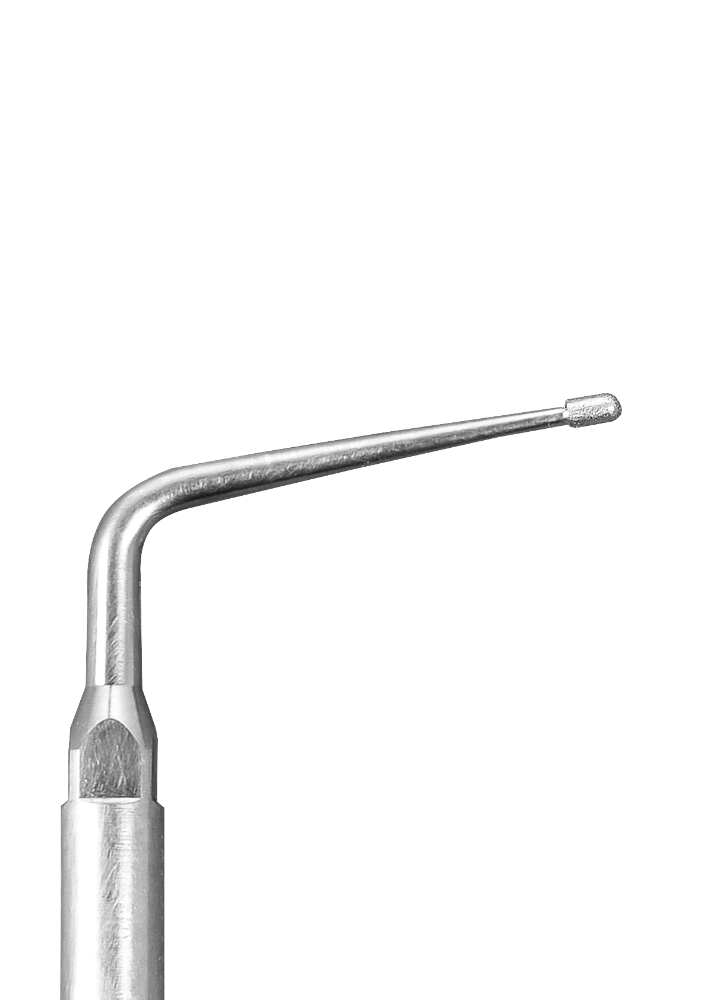
E6D – Pear Diamond
The E6D – Pear Diamond has excellent durability. It is used to locate canals, remove coronal obstructions, calcifications, restorative materials, cements (permanent and temporary), etc. The tip creates a smooth, flat, clean troughing groove that eases canal location. It can also be used to refine prep margins and box preps, and to remove caries.
E7D
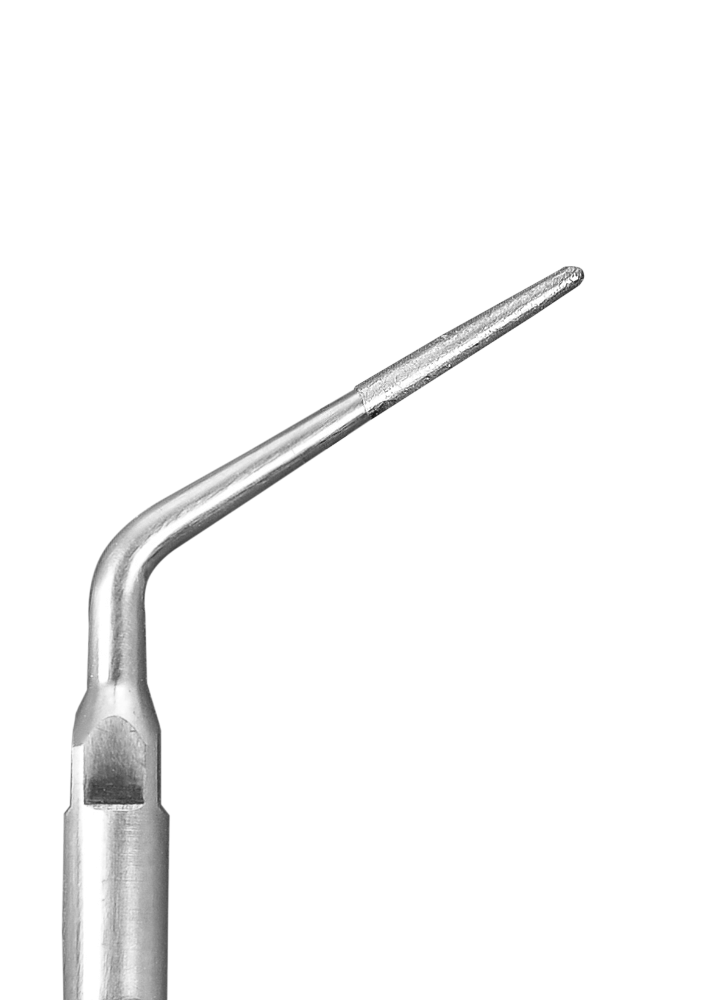
The E7D – Access Diamond has excellent durability. It’s end-cutting action is highly recommended for canal location, removal of obstructions, calcifications, caries, and prep margins refinement.
E15
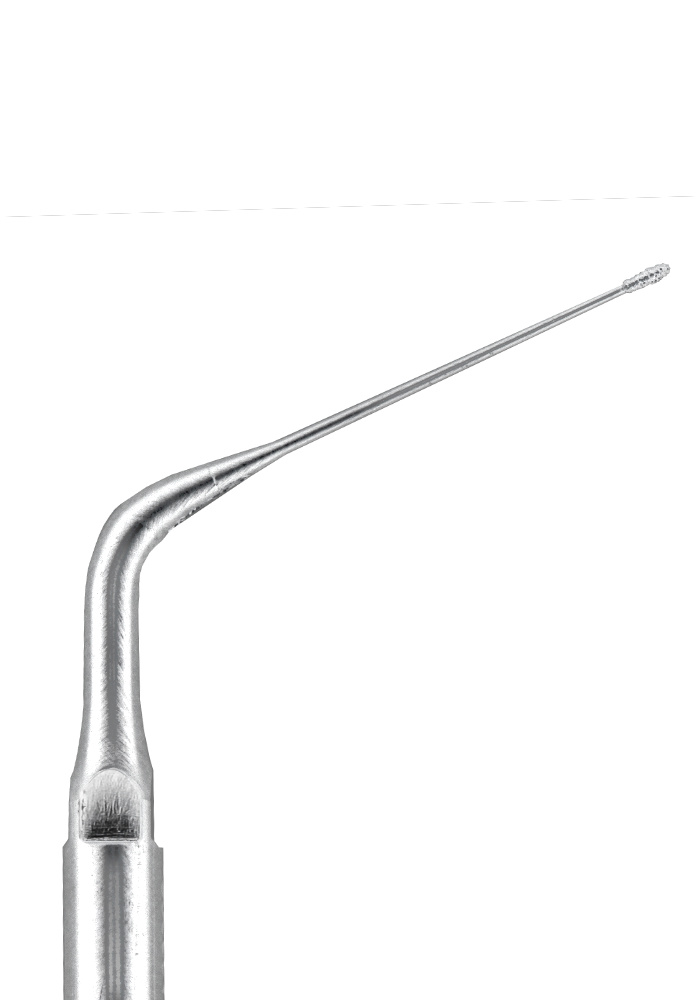
E15 – The Finder™
The Finder is a diamond coated ultrasonic tip with an end diameter similar to the one of a #2 Gates Glidden drill (around 0.7mm). Designed initially to locate MB2 canals, it has been also used with great efficiency to locate calcified canals, locate isthmuses, and to prepare the root canal orifice. Its long shape allows enhanced visualization through the microscope.
Knowing where to access is only the first step.
1st Law of canal location
The root canal access is always located in the floor-wall junction (FWJ).
2nd law of canal location
The root canal access is always located in a vertex.
Step-by-Step Calcified Canal Location
2. Initiate the removal through straight and continuous movements over the calcification (do not use water during this step).
3. Ultrasonic inserts are meant to be used for short periods of time, to avoid overheating. To rinse and remove dentin and pulp remains, use a syringe containing sodium hypochlorite, followed by suction and drying of the pulp chamber.
Repeat steps 2 and 3 until all obstructions are eliminated
 1. Pulp chamber with calcifications obstructing the access to the canals.
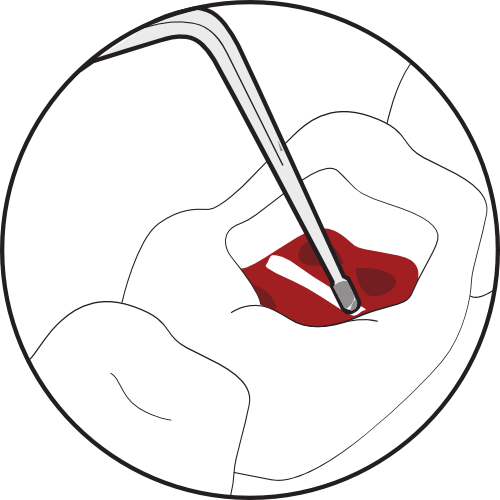
2. Ultrasonic tip in contact with calcification and activated to remove obstructions.
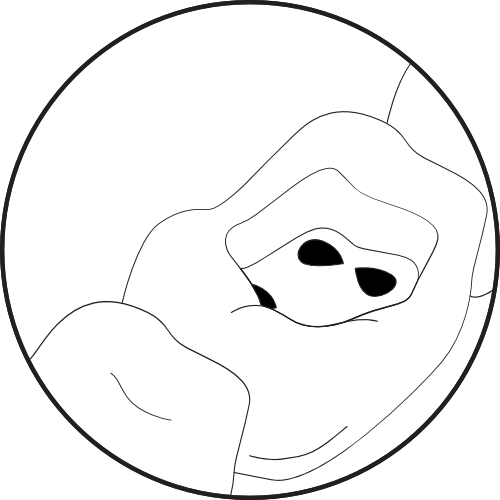
3. Accessible canals after instrumentation with ultrasonic insert.
Pulp chamber with calcifications obstructing the access to the canals.
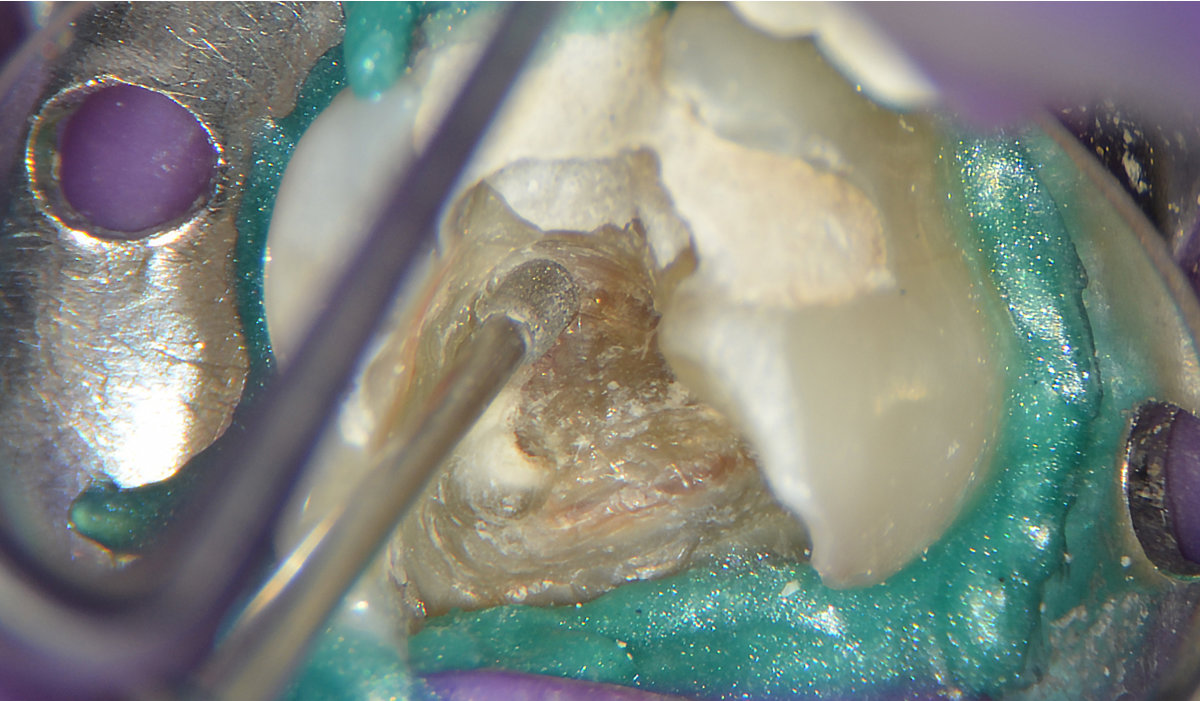
E6D ultrasonic tip activated in contact with calcifications.
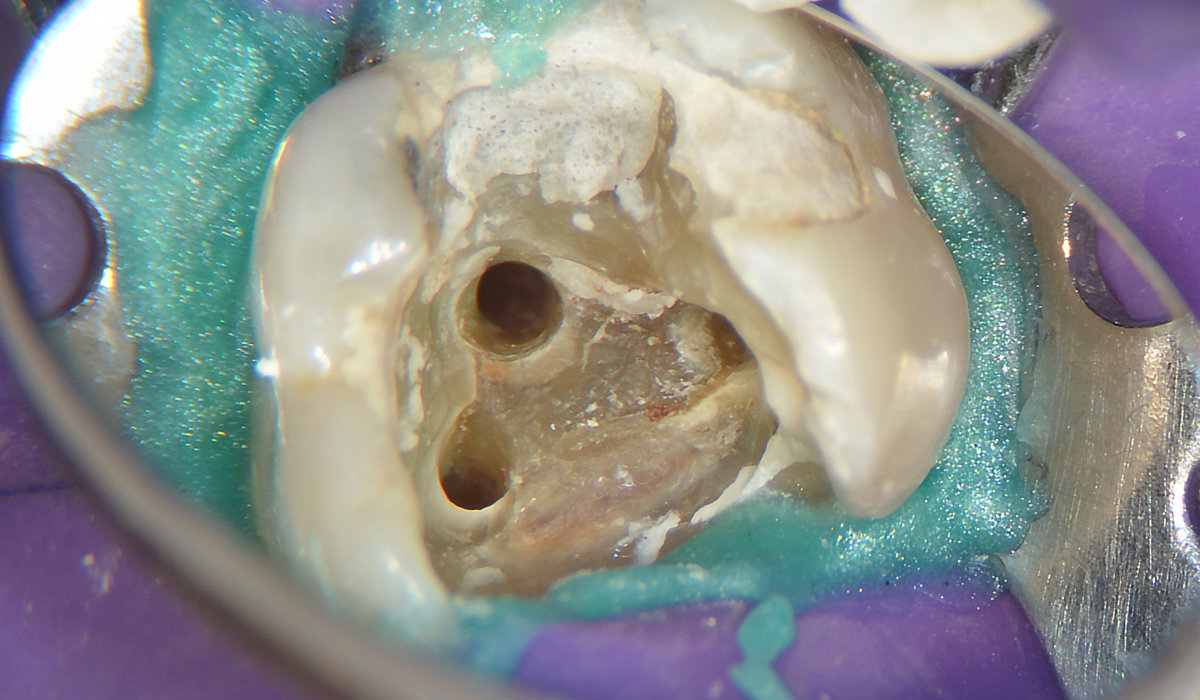
Accessible canals after instrumentation with ultrasonic insert.
Journal Articles & Research
Microscopic Endodontics in Infected Root Canal with Calcified Structure: A Case Report
– Tokyo Dental College, 2015
Starter Packs to get you going.

Starter Packs to get you going.
We’ve assembled three separate starter packs packaged with a procedure field guide to get you started supercharging ultrasonics in your practice.

Endo Starter Pack
The Endo Starter Pack includes 6 Ultrasonics Tips to get you started with Pulp Chamber, Middle Third and Activation procedures.

Endo Master Pack
The Endo Master Pack includes 12 Ultrasonics Tips for Pulp Chamber, Middle Third, Activation, Post Removal and Retreatment procedures.

Endo Guru Pack
The Endo Guru Pack includes 18 Ultrasonics Tips for maximum flexibility with Pulp Chamber, Middle Third, Activation,Post Removal, Apical Surgery and Retreatment procedures.

Build-Your-Own
When purchasing tips we offer savings for every 6 tips you add to your cart. No discount codes just add to your cart and start saving.