Cleaning Flattened Canals
Never fear a flattened or irregular canal.
Most root canals have a flattened shape to some degree, presenting narrow anatomic areas with pulp and/or necrotic tissue. This flattening happens in 89% of lower molars, 75% of lower incisors and 54% of upper premolars. When instrumenting canals with traditional files, a large portion of wall areas remains untouched. Ultrasonic tips can considerably raise the percentage of cleaned surface and enhance the removal of biofilm.
Files Aren’t Enough to Clean Narrow Canals.
The root canal is NOT round
Root canals are not round but in fact flat and many different shapes. Traditional files are unable to clean the isthmus.
Files can’t thoroughly clean
Traditional Files don’t touch every wall. If there is no touching, bacterias are not removed.
%
Canal Walls Untouched by Traditional Files
Step-by-Step Flattened Canal Cleaning
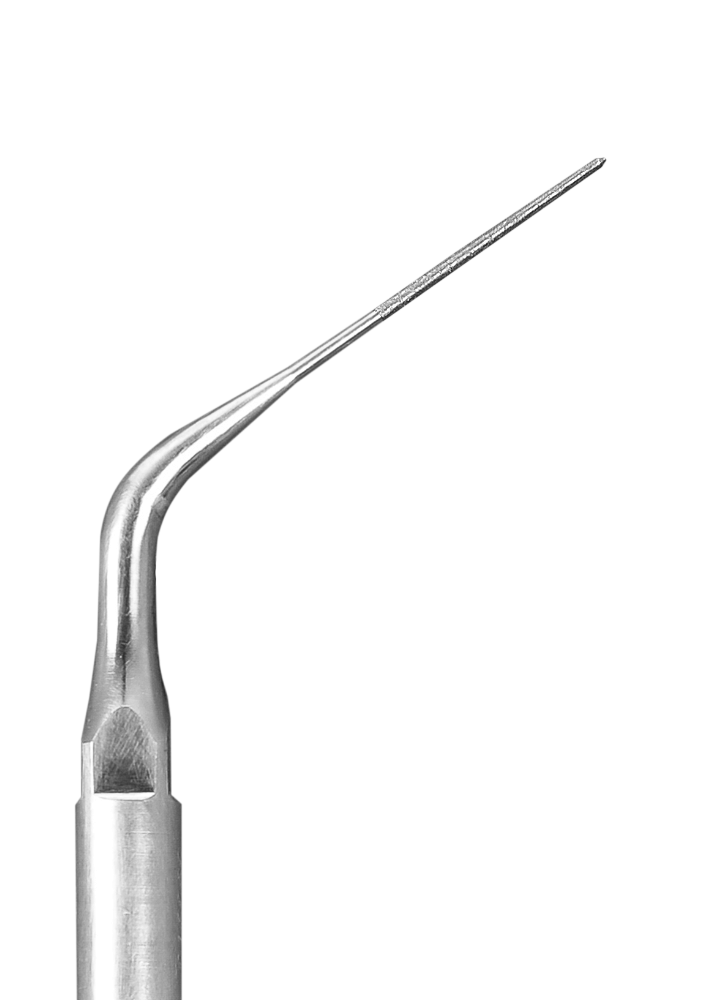
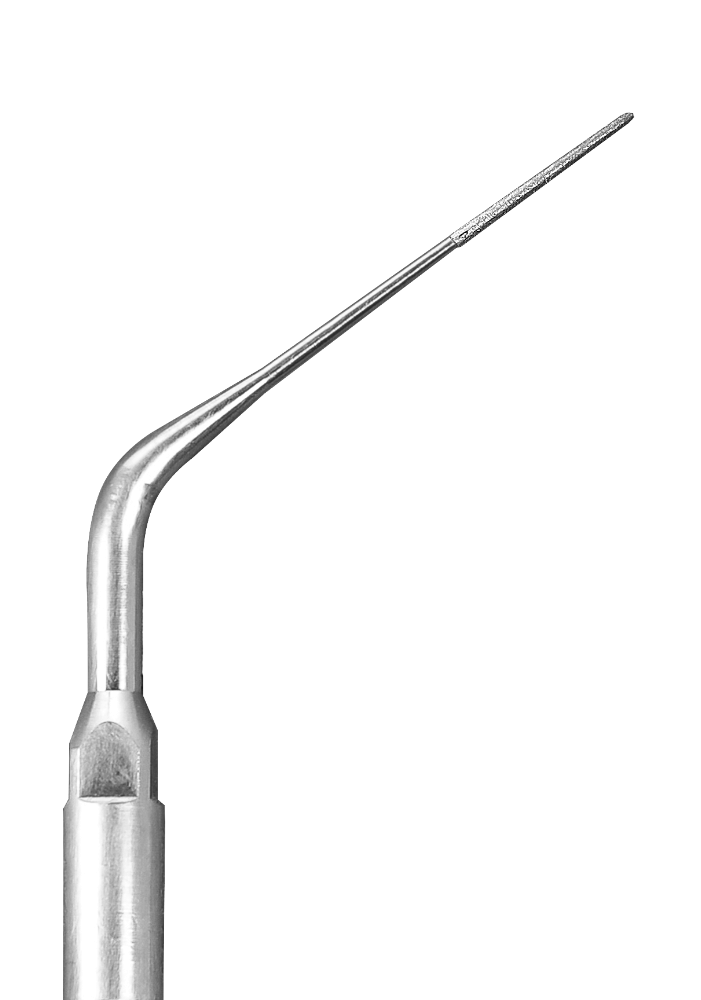
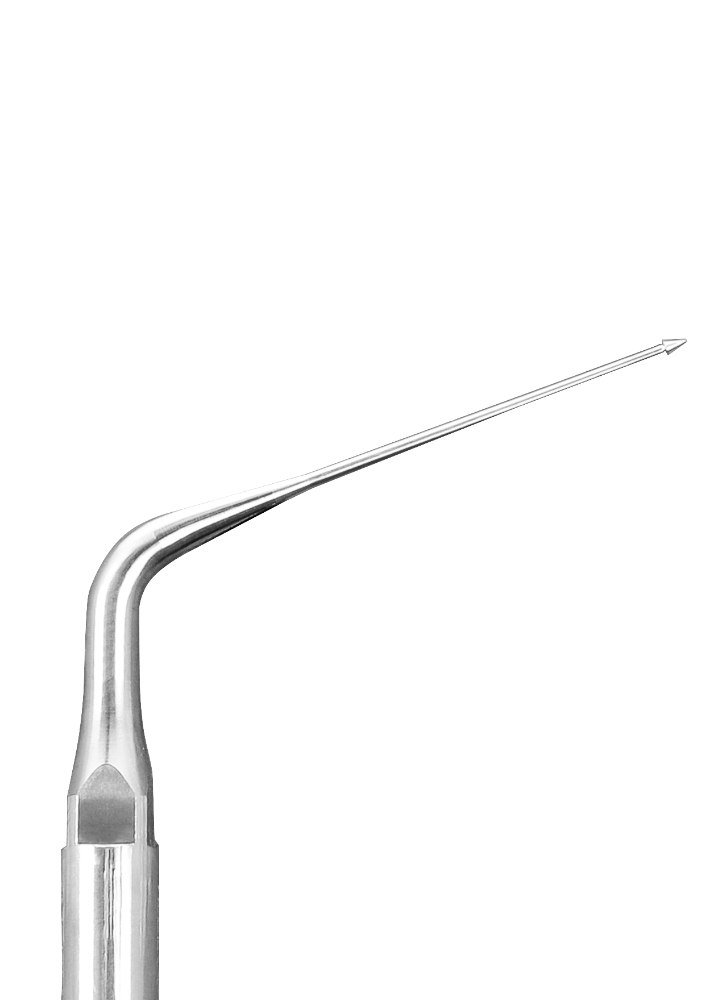
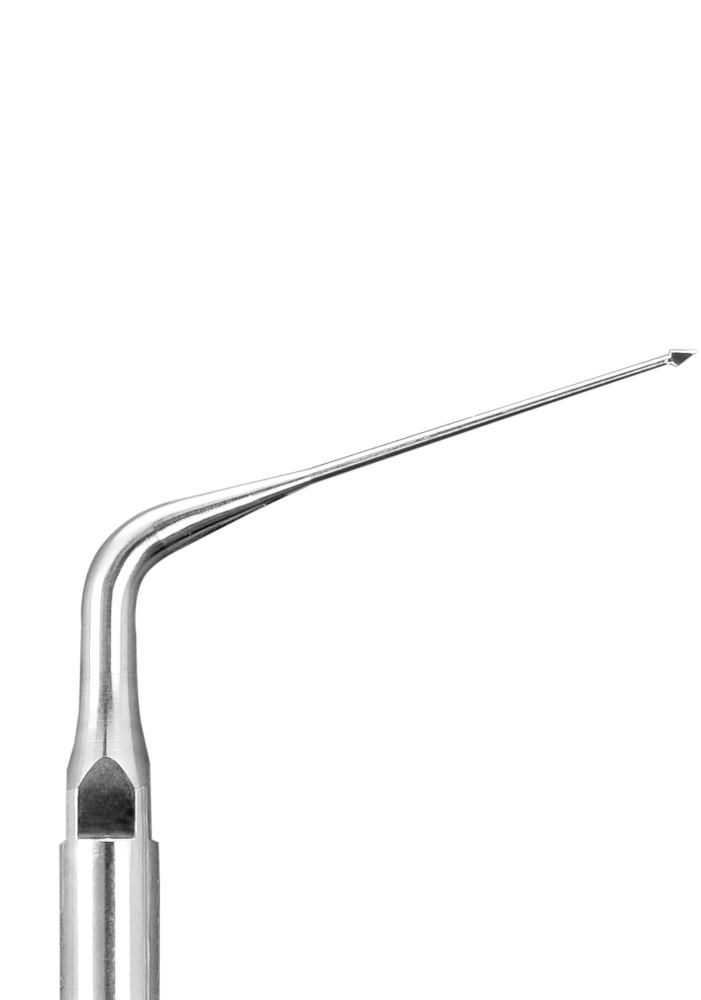
1 – Clean the flattened canal using a proper diameter ultrasonic tip. For thinner canals, we recommend the ISTHMUS or ISTHMUS D tips. For larger canals, the E5 or the E4D.
2 – Touch the canal walls with the ultrasonic tip in order to dissociate the biofilm. Diamond coated tips have a higher cutting action. Therefore, they must be used with caution, preferably by professionals that have magnification equipment available.
3 – Finally, you may turn on the water flow to rinse and remove debris created during the procedure.
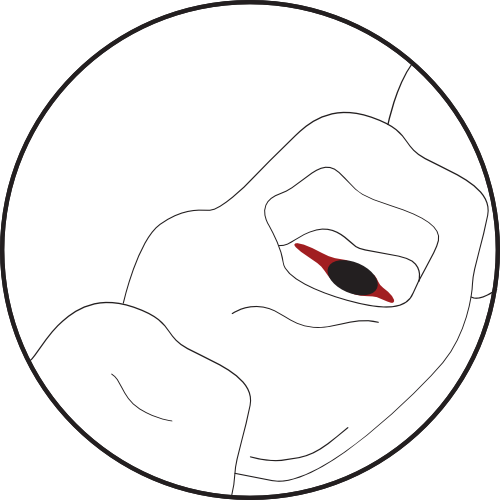
1. Canals after instrumentation with files.
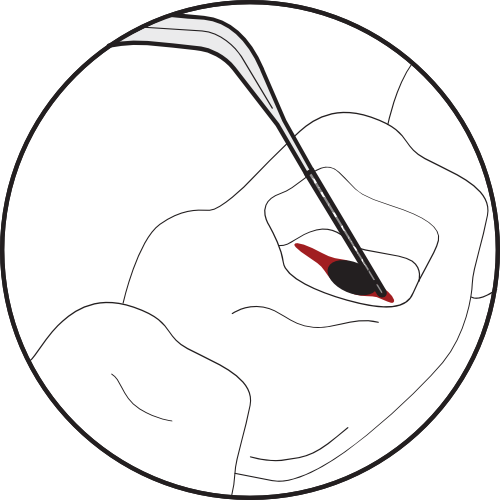
2. The ultrasonic insert must touch all flattened areas including the buccal and lingual walls.
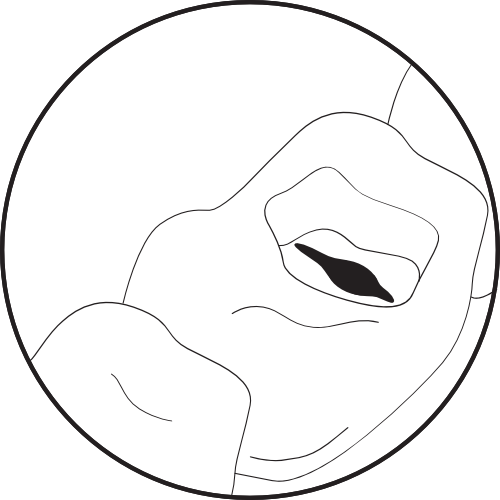
3. Clean walls after the procedure.
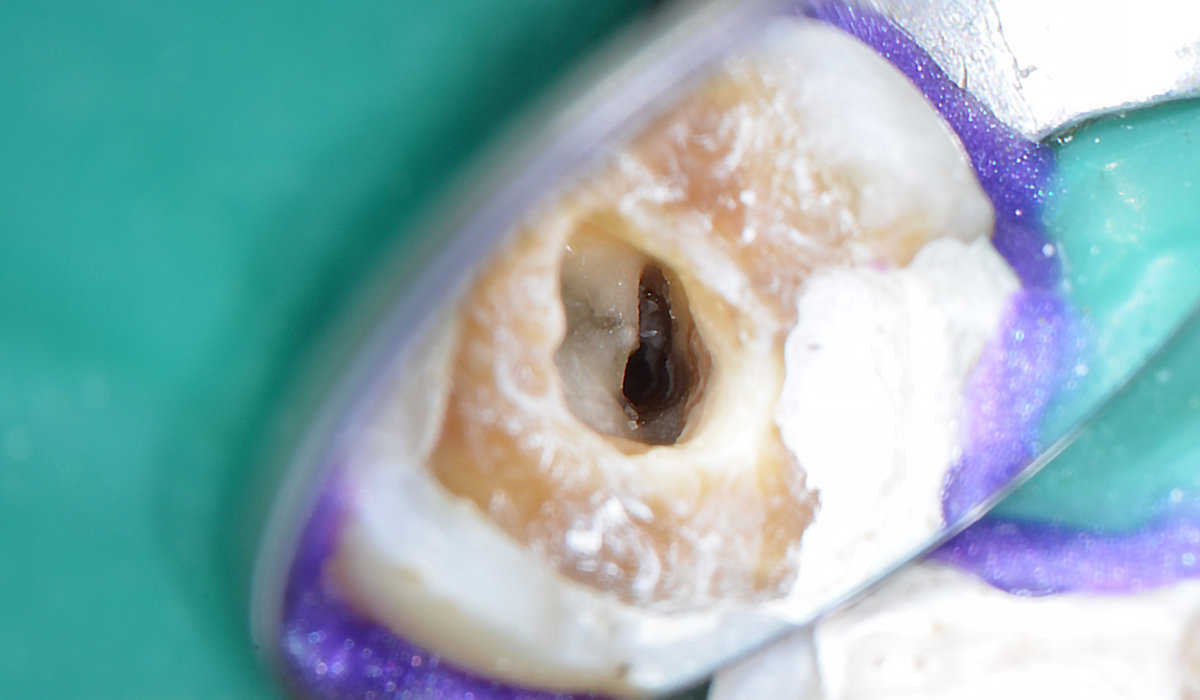
Molar distal canal with untouched areas after preparation with traditional files
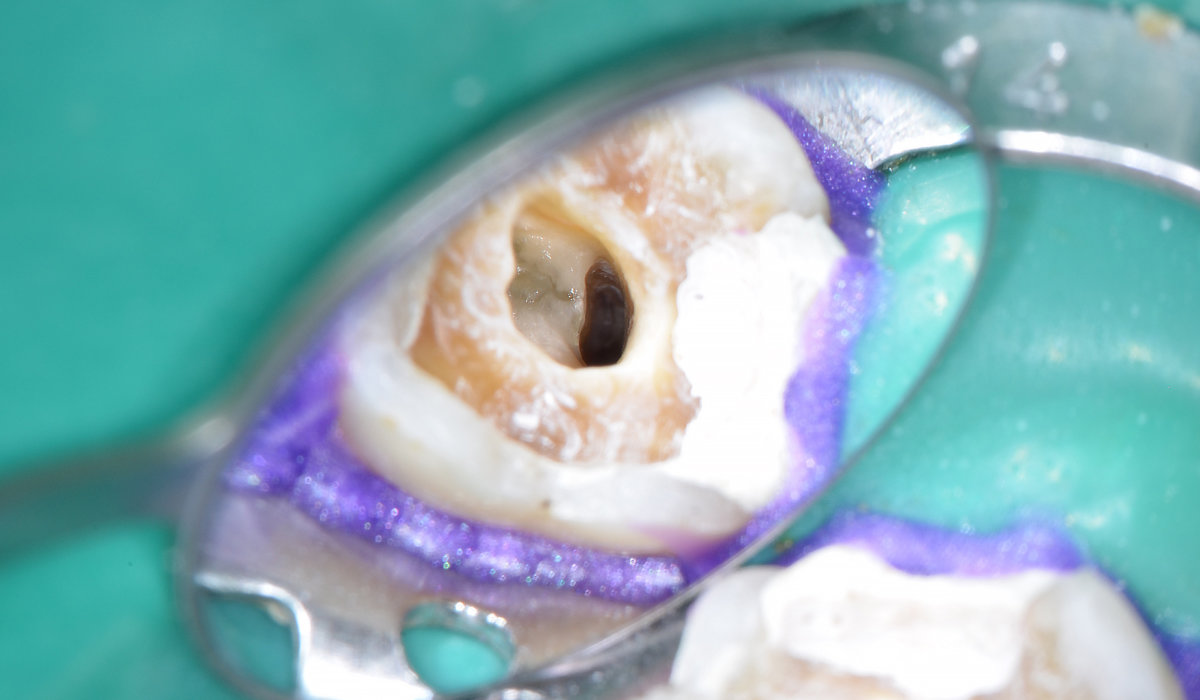
Molar distal canal after cleaning procedure using ultrasonic inserts
Use the tip gently, as if you were using a 0.5mm mechanical pencil. The cutting does not come from the pressure applied, but from the vibration. Avoid working for more than 30 seconds without water flow – it can damage the hand piece due to overheating.

